Layering in Photoshop, step by step
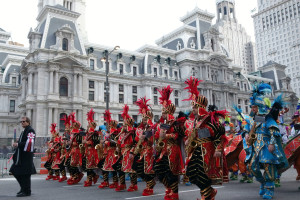
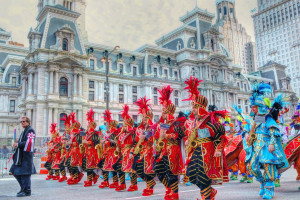
I am compiling a few Photoshop editing tutorials. In this example of the Woodland String Band club, shot January 1, 2014 at the Philadelphia Mummer’s Parade, the final blended image is created by layering a variety of different edits. View on 500px.com
Each image of mine is edited in a unique fashion but the basic idea is to use different edits for a final composite that will add depth you might not achieve if you are aiming for a single process edit.
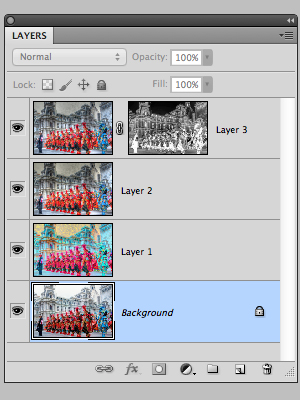
Photoshop Layers Palette
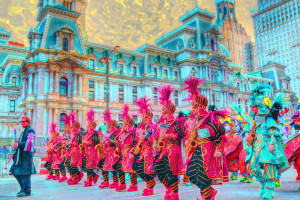
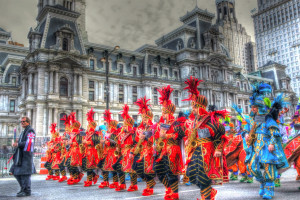
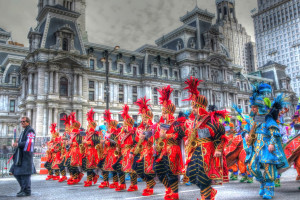
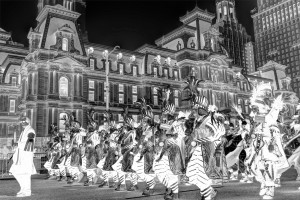
I have only four different layers for this image and though two layers applied use the Darken option this doesn’t mean that is the only composite option I will use. For demonstration purposes I am using only one layer with a mask. I do use masking often when blending layered edits. The images below are the edits used in the Photoshop file in the order they are layered.
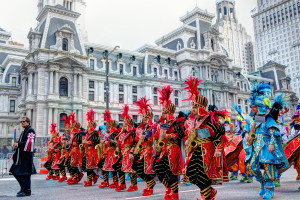
Background
This edit was created using three bracketed files created from the RAW file. Processed in Photomatix Pro with the default settings Painterly 5 which creates a fused image.
Layer 1
This edit was created with Topaz Adjust, using the “I feel Lucky” button. Here is where I have fun using the random settings to present unlikely edit ideas. This may appear extreme but a low percentage of opacity (26%) is applied and only to Darken the Background layer.
Layer 2
An edit created with three bracketed images. Processed using Photomatic Pro build in Painterly 2 setting and then tonemapped a second time in Photomatic Pro. This layer is set to Darken with a 29% opacity.
Layer 3
A Photomatix Pro edit created with three bracketed images. The mask is created by accessing the channels palette, command click on the blue channel thumbnail and a selection will be made. Select menu option to invert. Then from the layers palette click the mask icon to create the mask. Attributes set for this layer are to Screen at 72% opacity.
Filed Under: Editing Photography, Tutorials
Filed Under: Editing Photography, Tutorials