 This example begins using the Handy Photo App. Is a great one to try if you ask me. It doesn’t reduce the pixel size and has a nice collection of filters.
-

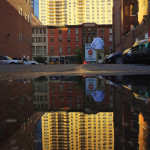
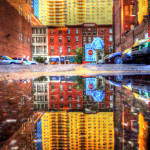
- Cropped Original Photo
-
- Tone & Color Brightness 47% Contrast -25% Saturation 58% Shadow 0% Highlights 27% Sharpnes 25% apply
-
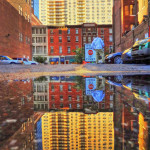
- Polarizing Filter Saturation 0% Strength 47%
-

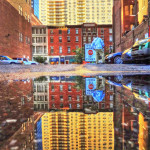
- HDR Filter Saturation 100% Strength 62%
-
- Photomatix Pro
-
- Photomatix Pro Tone Mapping
-

- Original Tone Mapped
-
- Tone Mapping Image Above
-
- Blend 6 Result
-
- Final Result Blend 7
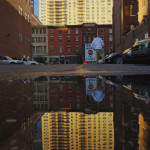
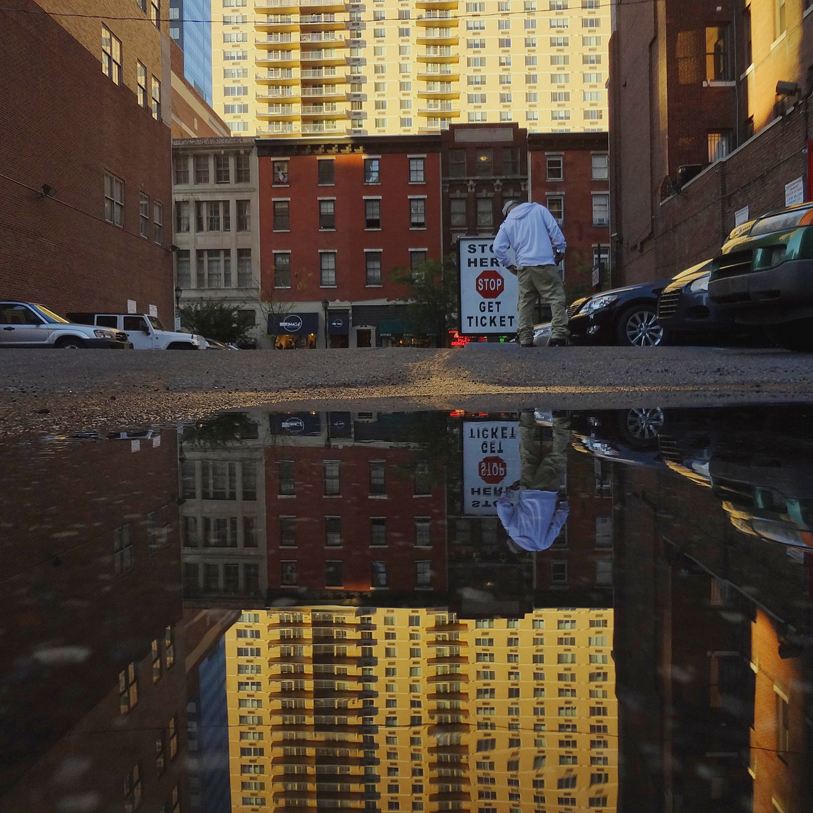
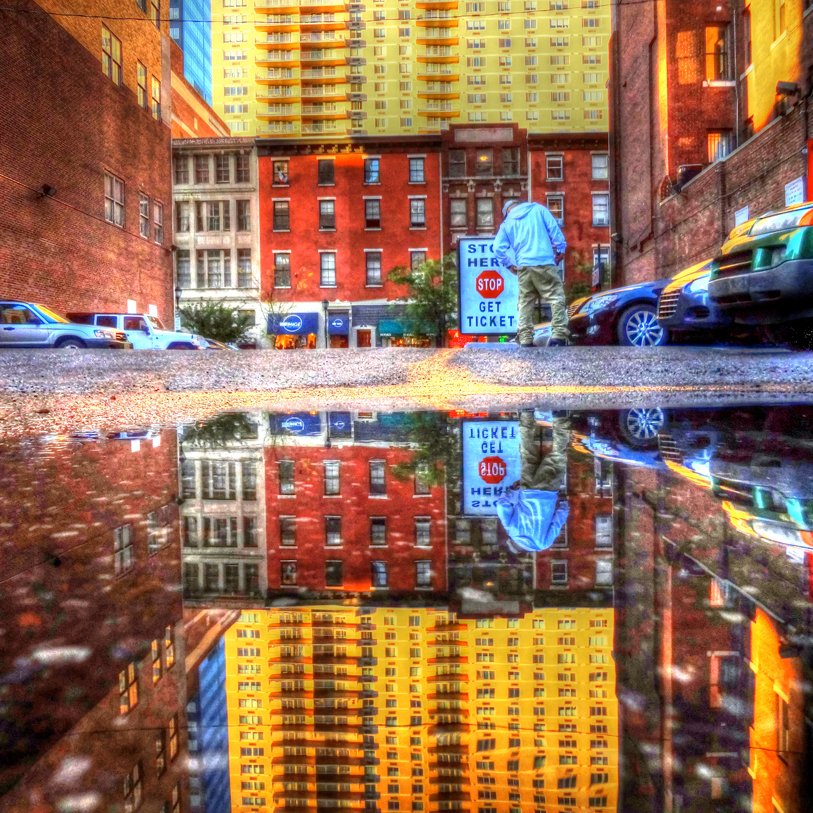
a) Original Photo
Original
Cropped to 1:1 aspect ratio
Camera: Sony 16.2mp Zeiss lens DSC-WX9
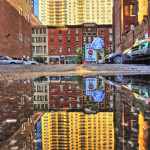
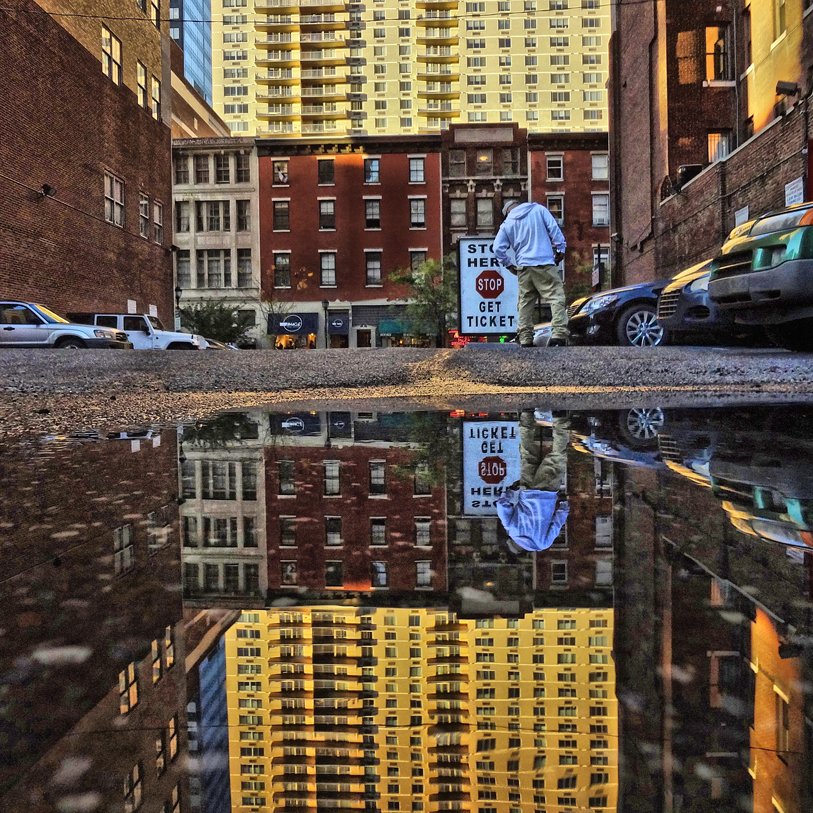
b) Tone & Color
Handy Photo: Tone & Color
Brightness 47%
Contrast -25%
Saturation 58%
Shadow 0%
Highlights 27%
Sharpness 25%
apply

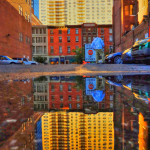
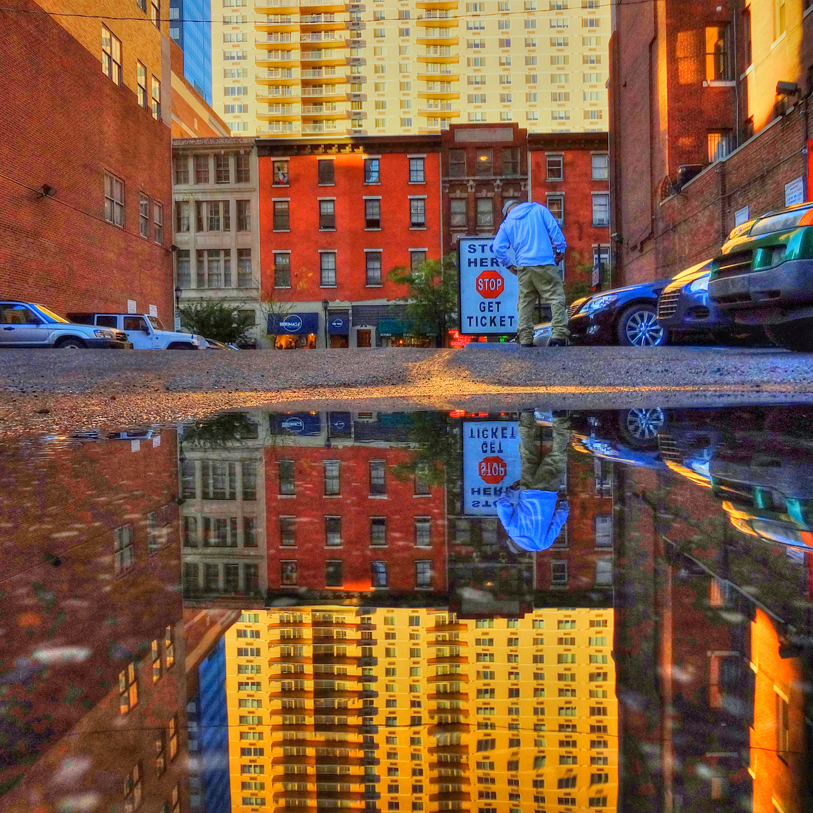
c) Polarizing Filter
Handy Photo: Polarizing
Saturation 0%
Strength 47%
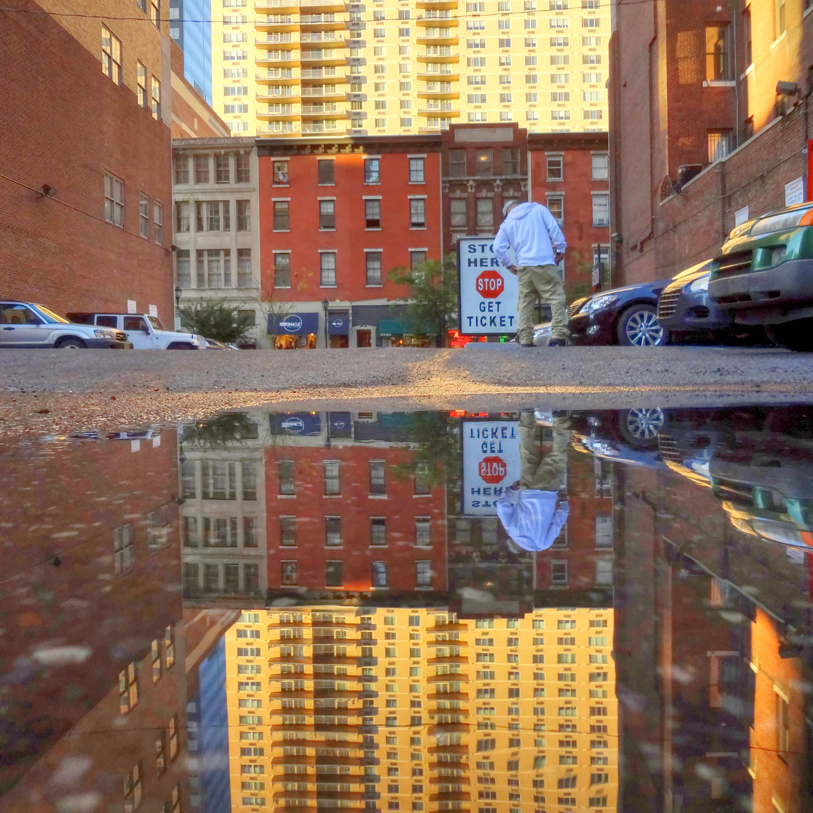
d) HDR Filter
Handy Photo: HDR
Saturation 100%
Strength 62%

e) Photomatix Pro
Photomatix Pro: Tone Mapping using Handy Photo edits
The original was not shot with a set of brackets, therefore I use lightly altered files created in a number of ways including Photoshop tweeks. For this example I am using (a) Original, (c) Polalrized and (d) HDR for the brackets to process in Photomatix Pro Tone Mapping XMP file here The XMP files can be imported to see how the settings are used.
f) Polarized Edit Tone Mapped
Multiple Photomatix Pro Edits Used
Here is the a)original, c)polarized and d)HDR Handy Photo edits used as bracketed photos for Photomatix Pro. I am aiming to get rich color on this output.Tone Mapping XMP file here
g) Original Tone Mapped
Single Image Tonemapping in Photomatix Pro
The a)original file is processed in Photomatix Pro for another variation. This is the result using this XMP file.
h) Tone Mapping Image Above
Tonemapping the Result
Using result image above g)tone mapped original continue and process again with Photomatix Pro using settings attached.

i) Blend 6 Result
Blended in Photoshop
All the output images are then placed as layers in Photoshop to use aspects of the different layers to achieve this result. This is my 6th try

j) Final Result Blend 7
Final Blend Result
Sometimes I need to compare several blended results to achieve the look I am aiming for.